Sub-Total: $0.00
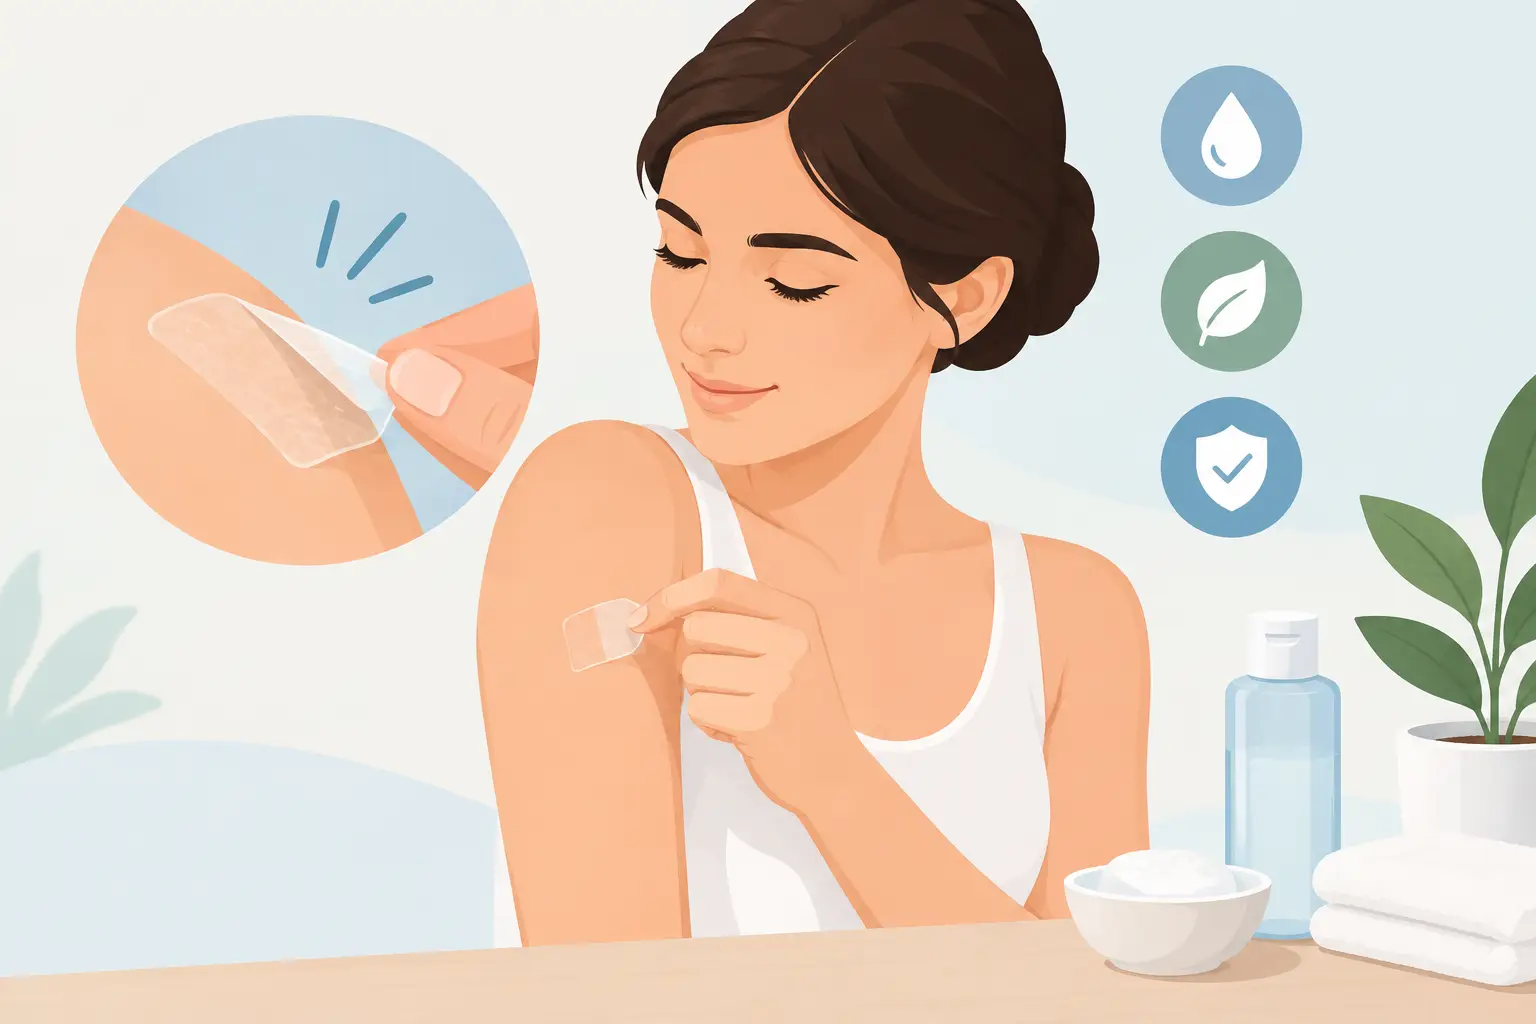
How to Remove Hair Adhesive Without Skin Damage
That secure, confident hold should not turn into a painful removal day. Knowing how to remove hair adhesive the right way protects your scalp, preserves the base of your hair system, and makes your next application look cleaner and more natural. The goal is simple: break down the bond patiently, never force the system loose.
Start With the Right Adhesive Remover
Hair system adhesive is designed to hold through work, workouts, humidity, and everyday life. Water, shampoo, or pulling at the edge will not reliably release it. More often, they create irritation, tear a delicate lace base, or leave sticky residue behind.
Use a remover made specifically for hair replacement adhesives and tapes. A liquid or spray adhesive remover works well for most men because it can reach beneath the perimeter of the system. If you wear lace, choose a formula that is compatible with lace and use it sparingly. Oil-based removers can be effective on stubborn adhesive, but they may require more shampooing afterward to remove residue from the scalp and hair.
Have clean towels, cotton pads or paper towels, a wide-tooth comb, gentle shampoo, and a bowl or sink ready before you begin. Removal is easier when you are not rushing to find supplies with one side of your system already lifted.
How to Remove Hair Adhesive Step by Step
Begin at an area that is already slightly loose, usually near the front temple or nape. Do not start by lifting the center of the hairline. You want to create a small opening at the edge, then work gradually around the base.
Soften one edge first
Apply a small amount of adhesive remover directly along the lifted edge. Give it time to work. Depending on the strength of your bond, this may take a few minutes. Gently press the remover into the seam with a cotton pad rather than rubbing aggressively.
Once the adhesive starts to release, carefully peel back a small section of the base. Keep the motion low and close to your scalp, not upward. Pulling straight up puts unnecessary strain on your skin and can stretch or damage a lace or thin-skin system.
Work around the perimeter
Continue applying remover in short sections as you go around the hairline. If you feel resistance, stop. Apply more remover, wait another minute or two, and try again. A secure bond is doing its job, so there is no benefit to fighting it.
For full-cap systems, work in a controlled pattern around the perimeter until the entire unit is free. Support the base with your other hand as you release each area. This is especially important with fine lace, which delivers an exceptionally natural look but deserves gentle handling.
Lift the system away carefully
When the perimeter is fully released, lift the system off slowly. If adhesive remains attached in a few spots, lay the unit back down and treat those areas with more remover. Never yank through a stubborn patch.
Place the hair system hair-side down on a clean towel or a system stand. Keeping the hair out of the adhesive makes cleanup much easier and helps protect the style you worked to create.
Remove Adhesive From Your Scalp
After the system is off, it is normal to see tape strips, glue residue, or a tacky film on your scalp. Saturate the residue with adhesive remover and allow it to soften. Then wipe gently with a towel or cotton pad. Work from the hairline backward to avoid spreading residue into any remaining natural hair.
For thicker buildup, repeat the process rather than scrubbing harder. Your scalp may feel tender after several days or weeks of wear, particularly if you are new to a hair replacement system. Firm rubbing, fingernails, and rough washcloths can cause redness and make the next installation less comfortable.
Once the adhesive is gone, shampoo your scalp with a gentle cleanser to remove remover oils and residue. Rinse thoroughly, then dry completely. Adhesive does not bond well to damp skin, sweat, conditioner, or excess natural oils. A clean, dry scalp gives you the secure hold and natural hairline you expect from your next installation.
If you have sensitive skin, use a scalp-safe adhesive remover and consider a scalp protector before your next bond. Persistent burning, rash, broken skin, or swelling is not something to push through. Remove the system, let the skin recover, and seek professional medical guidance if irritation continues.
Clean Adhesive Off the Hair System Base
The removal process is only half complete until the base is clean. Adhesive left on lace, poly, or hybrid materials can interfere with the next application and cause visible buildup at the hairline.
For a poly or thin-skin base, apply remover to the adhesive side and let it sit briefly. Most residue should wipe away with a soft cloth. Avoid sharp tools, which can nick the base and shorten the life of your system.
Lace requires more patience. Place the system adhesive-side up on a towel or nonstick surface, apply remover, and allow the bond to break down. Use gentle rolling motions with your fingertips or a soft cloth to lift the adhesive away. Do not pick at lace with tweezers or scrape it with a comb. Even small tears can become more noticeable over time.
After removing residue, wash the base carefully with a gentle shampoo. Keep conditioner away from the base itself, since it can leave a film that weakens adhesive performance. Rinse well and let the system air-dry fully before reinstalling it or storing it.
Common Removal Mistakes That Cost You Time
The biggest mistake is pulling before the adhesive has released. It may feel faster in the moment, but it can irritate your scalp, pull out natural hair around the perimeter, and damage the system base. A few extra minutes of remover is far less costly than repairing or replacing a system.
Another common issue is using household solvents, alcohol-heavy products, or random oils without knowing how they will affect your skin and base material. These products can dry the scalp, leave residue, fade hair color, or compromise delicate materials. Hair replacement products are made for this job and deliver more predictable results.
Finally, do not reinstall on a scalp that still feels oily or has visible residue. Adhesive needs a properly prepared surface. If the bond fails early, the problem is often leftover remover, not the adhesive itself.
How Often Should You Remove Your Hair System?
The right schedule depends on your adhesive, base type, skin chemistry, activity level, and preferred maintenance routine. Some men prefer a fresh cleanup every week, while others can wear a properly applied system for two to four weeks. Heavy sweating, swimming, humid weather, and oily skin may mean more frequent maintenance.
Do not wait until the system is lifting badly, uncomfortable, or collecting buildup around the hairline. A regular removal schedule keeps your scalp healthier and makes each cleanup easier. It also gives you the chance to inspect the base, refresh the cut or style, and maintain the undetectable finish that makes a quality system feel like your own hair.
When Professional Help Makes Sense
If this is your first removal, a professional appointment can take the uncertainty out of the process. It is particularly helpful if you wear a custom lace front, have sensitive skin, or are unsure which adhesive and remover pair best with your lifestyle. The right maintenance routine should support your active life, not add stress to it.
At 101 Hair Replacement Systems, personalized support can help you choose products and a wear schedule that match your scalp, your system, and the level of hold you want. You should feel confident taking your system off, cleaning it, and putting it back on without risking the realistic result you invested in.
Treat removal as part of your grooming routine, not a struggle to get through. With patience, compatible products, and a clean scalp, every reinstall is a fresh opportunity to step out looking natural, secure, and fully yourself.