
Sub-Total: $0.00
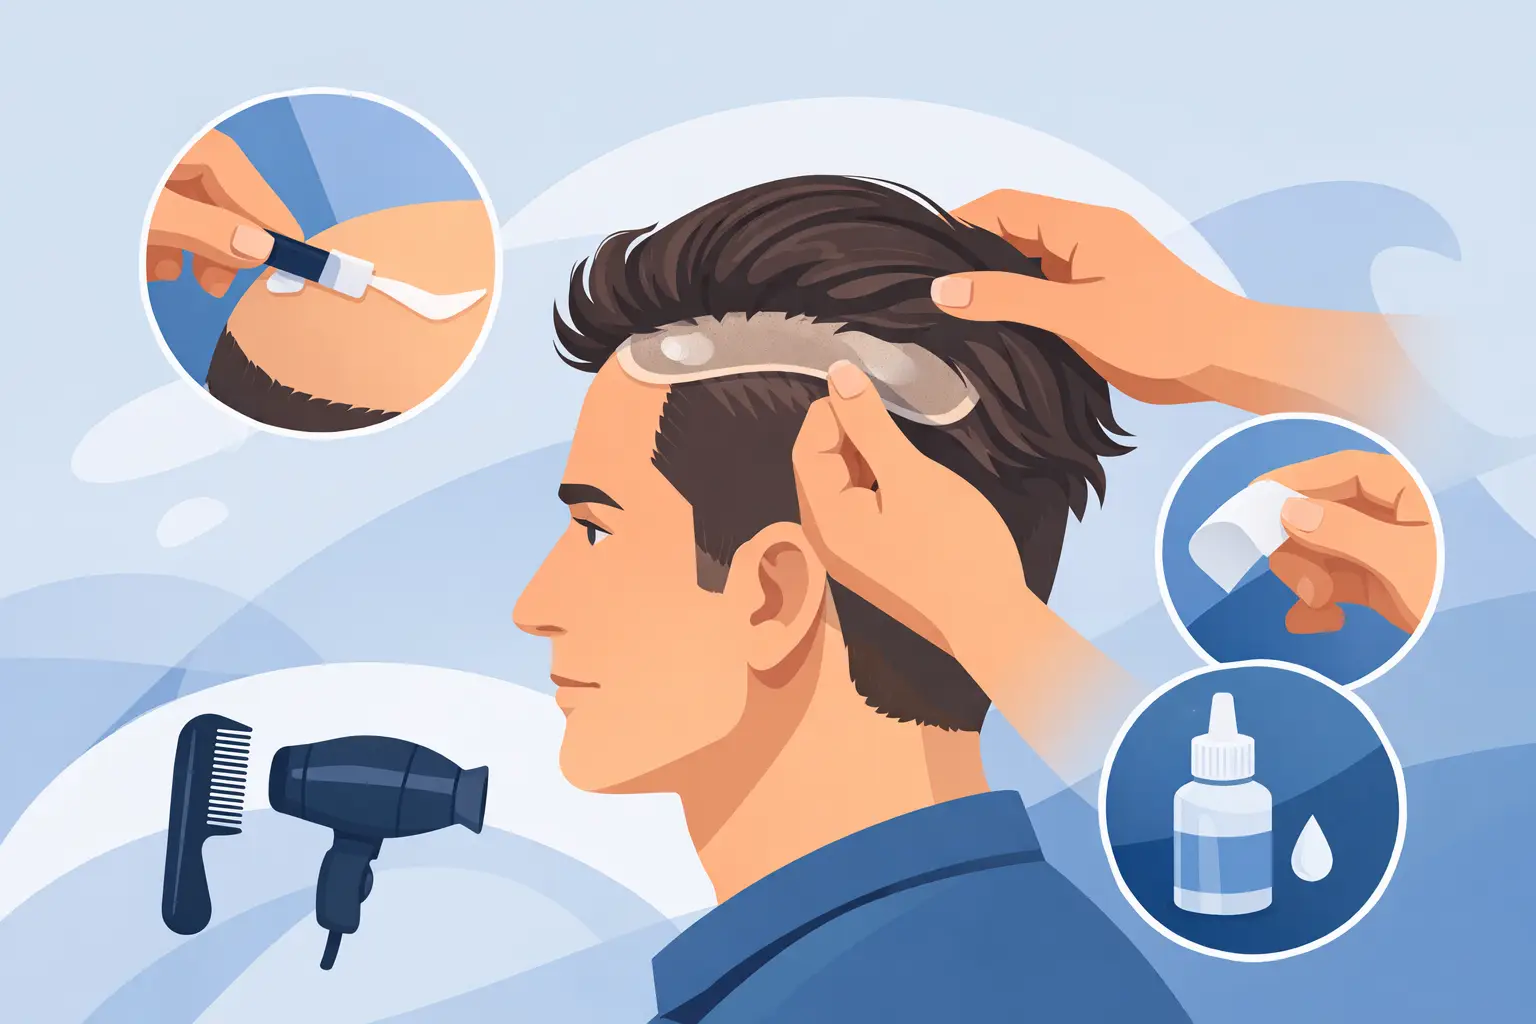
How to Attach a Men’s Hair System Securely
A great hair system should not make you wonder whether it is still in place. When you attach a mens hair system correctly, it should feel secure enough for meetings, workouts, travel, and close conversations while still looking like your own natural hairline. The difference comes down to preparation, placement, and choosing an attachment method that matches your skin, lifestyle, and system base.
For many men, the first attachment is the moment hair replacement starts to feel real. Done well, it is not a dramatic cosmetic change that people notice. It is a natural-looking return to the version of yourself you recognize in the mirror.
Choose the Right Way to Attach a Men’s Hair System
Most men’s hair systems are attached with professional-grade tape, liquid adhesive, or a combination of both. Neither option is automatically better. The right choice depends on how long you want to wear the system, how active you are, how sensitive your skin is, and the type of base you selected.
Hair system tape is a practical choice for men who want a clean, controlled application and easier removal. It comes in different hold strengths, from shorter-term options to tapes designed for extended wear. Tape can work especially well around the perimeter of a system and is often a comfortable option for first-time wearers.
Liquid adhesive creates a very natural result, particularly at an exposed front hairline. It is applied in thin layers and allowed to dry clear or tacky before the system is placed. This method takes more patience, but it gives you precise control and can produce an exceptionally undetectable finish.
Many experienced wearers use both. Tape provides dependable hold around the sides and back, while liquid adhesive is used at the front for a softer, more natural transition. If you are unsure where to begin, a personalized consultation can help you avoid buying supplies that do not suit your base material or skin type.
Start With a Clean, Dry Scalp
The attachment is only as reliable as the surface beneath it. Natural oils, sweat, lotion, and hair product residue can weaken tape and adhesive before you ever leave the bathroom. Take the time to prepare your scalp properly, especially if you want your system to stay secure during exercise or humid weather.
Begin by trimming or shaving the area where the base will sit. A close, even surface helps the system lie flat and makes future removal much easier. Wash the scalp with a cleanser that removes oil without leaving behind a moisturizing film. Then dry it completely with a clean towel.
Before applying any adhesive, use a scalp-safe preparation product to remove lingering oil and create a cleaner bonding surface. If you have sensitive skin, a scalp protector can add a helpful barrier between your skin and the adhesive. Always allow each product to dry fully. Rushing this step is one of the most common reasons a hair system begins lifting early.
If you are using a new tape, adhesive, or scalp product for the first time, perform a small patch test beforehand. Comfort matters as much as hold. A system should support your confidence, not leave you dealing with irritation.
Measure and Mark the Hairline Before You Apply
A natural hairline is about placement, not just adhesive strength. Setting it too low can make the result look unnatural and may create tension on the front edge. Setting it too far back can make you feel like you are still hiding your hair loss. The goal is a position that fits your facial proportions, age, and preferred style.
A helpful starting point is to place the front hairline roughly four fingers above the eyebrows, then adjust based on your individual features. This is only a guide, not a fixed rule. Men with higher natural hairlines or more mature styles often benefit from a slightly higher placement.
Use a cosmetic pencil or washable marker to make light reference points at the center and temples. These marks give you a visual guide when you attach the system and prevent it from sitting crooked. Take a moment to check the placement from the front and both sides in a mirror. A few extra seconds here can save you from having to remove and reapply the entire system.
Apply Tape or Adhesive With Control
For tape, apply strips around the perimeter of the hair system base, following its natural contour. Keep the tape slightly inside the edge rather than allowing it to extend beyond the base. This helps prevent adhesive shine, lint buildup, and visible edges. Press each strip firmly into place, then remove the protective backing only when you are ready to install.
For liquid adhesive, apply very thin, even layers along the scalp where the system will bond. Thick adhesive does not create a better hold. It usually takes longer to cure, can seep through delicate bases, and makes cleanup harder. Depending on the adhesive, two or three thin layers may provide better performance than one heavy layer.
Wait until the adhesive reaches the proper tackiness before placing the system. Some formulas become clear when ready, while others remain slightly tacky. Follow the product directions closely. The timing is not a minor detail – it directly affects the strength and cleanliness of your attachment.
How to Place the System Without Losing Alignment
Placement is the step that makes many first-time wearers nervous. The key is to move slowly and avoid pressing the entire system down at once.
Start with the front hairline. Hold the system by the sides, align the center of the front edge with your center reference mark, and gently lower it into place. Once the front is positioned correctly, work backward in small sections, pressing the base onto the scalp as you go. Use the flat of your fingers rather than your nails, which can catch or damage a delicate lace base.
If you are applying the system alone, folding the back section upward can help you focus on the front first. After the hairline is secure, gradually release and press down the middle, sides, and back. Check for ripples, trapped air, or areas that did not make full contact with the adhesive.
Do not pull the hair system tight across your scalp. A quality system should sit naturally, not feel stretched. Tension can make the base lift and may affect how the hair falls around the temples and crown.
Finish the Attachment for a Natural Look
Once the system is in place, press along the bonded areas for several seconds to improve contact. Some adhesives benefit from a short cure period before you style the hair, sweat heavily, shower, or put on a hat. Give the attachment the time it needs to set. This is particularly valuable if you want reliable wear through a busy workday or gym session.
Style the hair only after the bond is secure. Use a wide-tooth comb or a brush designed for hair systems, starting at the ends and working upward. Aggressive brushing near the base can loosen the attachment, especially while the system is new or the adhesive is still curing.
Look closely at the front hairline in natural light. If you wear your hair back or with a visible front, a clean hairline application makes a major difference. If you prefer a fringe or textured style, you have more flexibility, but a precise attachment still improves comfort and durability.
Make Your Attachment Last Between Maintenance Visits
How long an attachment lasts depends on your body chemistry, climate, workout routine, scalp oil, and chosen bonding product. Some men prefer a shorter wear cycle because they enjoy cleaning their scalp and system more often. Others want extended wear for greater day-to-day convenience. Both approaches can work when the products and maintenance schedule fit your needs.
To protect the bond, avoid applying heavy oils, conditioners, or styling products directly onto the base area. When washing your hair, use gentle products and avoid scrubbing the edges aggressively. Pat the hair dry instead of rubbing it with a towel.
If an edge starts to lift, address it early. A small lift is easier to clean and reattach than a loose section that collects oil, moisture, and debris. Do not keep adding adhesive over old buildup. Remove the system carefully, clean both the scalp and base thoroughly, and start with a fresh surface.
Your first few applications may take longer than expected, and that is normal. Professional guidance can shorten the learning curve and help you find the attachment routine that fits your life. At 101 Hair Replacement Systems, the focus is not simply on getting a system to stick. It is on creating a personalized, secure, natural result that lets you move through your day with confidence.
A properly attached hair system should fade into the background of your life. Once it feels secure, comfortable, and truly yours, you can put your attention back where it belongs – on showing up with confidence.